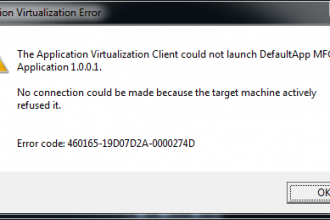
Common Errors, Outgoing ErrorsDecember 30, 2014 No Connection Could Be Made Because The Target Machine Actively Refused It By outlookwizard
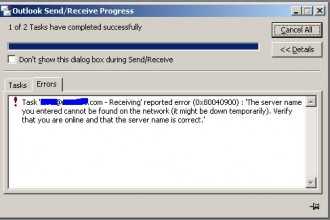
Common Errors, Incoming ErrorsDecember 30, 2014 How to Fix Outlook Error: 0x80040900 By outlookwizard
Common Errors, Incoming ErrorsDecember 30, 2014 Outlook is unable to connect to your incoming (POP3) e-mail server By outlookwizard
Common Errors, Incoming ErrorsDecember 30, 2014 How to Fix Outlook Error: 0x800ccc0d By outlookwizard
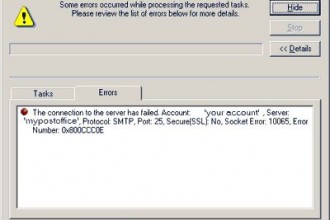
Common Errors, Incoming ErrorsDecember 30, 2014 How to Fix Outlook Error: 0x800ccc0e By outlookwizard
Common Errors, Outgoing ErrorsDecember 30, 2014 No Connection Could Be Made Because The Target Machine Actively Refused It By outlookwizard
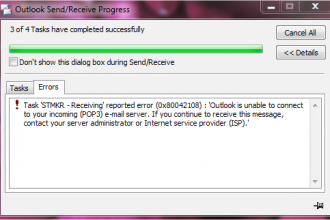
Common Errors, Outgoing ErrorsDecember 30, 2014 How to Fix Outlook Error: 0x8004210B By outlookwizard
Common Errors, Outgoing ErrorsDecember 30, 2014 How to Fix Outlook Error: 0x800ccc15 By outlookwizard

 Outlook: Demystified.